Uploads by Yagni01
Jump to navigation
Jump to search
This special page shows all uploaded files.
| Date | Name | Thumbnail | Size | Description | Versions |
|---|---|---|---|---|---|
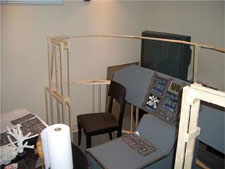
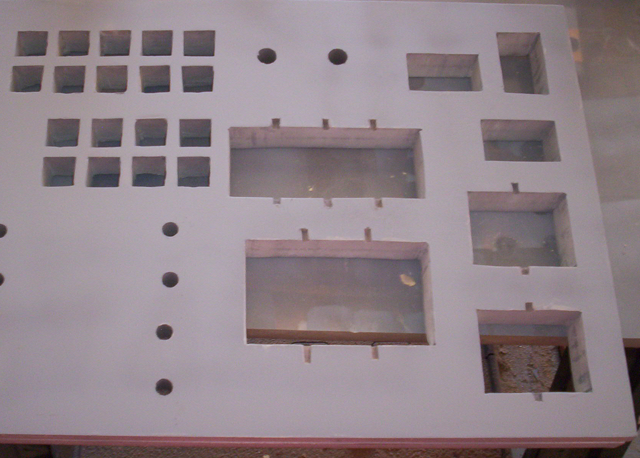
| 04:05, 8 December 2008 | ToddWessShuttlePicture2.jpg (file) |  |
25 KB | An image of Toddwess' Shuttle Atlantis flight deck enclosure | 1 |
| 04:04, 8 December 2008 | ToddWessShuttlePicture1.jpg (file) |  |
30 KB | An image of Toddwess' Shuttle Atlantis cage. | 1 |
| 20:35, 9 November 2008 | ToddWessShuttleCage2.jpg (file) |  |
25 KB | Another view of the cage before disassembly. | 1 |
| 20:31, 9 November 2008 | ToddWessShuttleCage.jpg (file) |  |
30 KB | Image of the cage before it was decided not to use it. | 1 |
| 20:29, 9 November 2008 | ToddWessShuttleDiagram8.gif (file) |  |
32 KB | Here is a side view that helps show some of the angles between the panels. Again, the cage is shown in blue. You can see that panels O1, O2, O3 & O4 are at an angle to O6, O7 & O8, and that they protrude down a bit lower than the sides of panels O5 and O9 | 1 |
| 20:27, 9 November 2008 | ToddWessShuttleDiagram7.gif (file) |  |
53 KB | Here is a forward view showing the overhead panels attached and installed. Panels O6, O7, and O8 were all placed on one large sheet that was 54” wide by 30” tall. Panels O5 and O9 were on either side, and were sort of tricky. I had to put the O6-8 | 1 |
| 20:26, 9 November 2008 | ToddWessShuttleDiagram6.gif (file) |  |
34 KB | This figure shows the cage and the panels in an overhead view. | 1 |
| 20:25, 9 November 2008 | ToddWessShuttleDiagram5.gif (file) |  |
40 KB | This figure shows the dimensions for the “cage” that I had originally built to be the front of the cockpit. I never liked how this turned out, so I am no longer using it, but thought I would include it here. I built it, then disassembled it. This is | 1 |
| 20:24, 9 November 2008 | ToddWessShuttleDiagram4.gif (file) |  |
42 KB | This figure shows the two side pieces that support the center panels. Panels C1, C2, C3 and the support board for C5, C6 &C7 go between these two. They also provide a notch and back-rest for the forward panels to sit on. | 1 |
| 20:21, 9 November 2008 | ToddWessShuttleDiagram2.gif (file) |  |
45 KB | The figure below shows the cutouts for panel C1 and C2 and the two pieces to make panel C3. I had to make C3 into two pieces so that I could fit all of the panels on 4 sheets of 48”x48” material. The other two pieces are the support panels for pane | 1 |
| 20:20, 9 November 2008 | ToddWessShuttleDiagram3.gif (file) |  |
41 KB | This figure shows the dimensions for cutting out the forward panel. Here it is shown in two pieces so it can fit on the 48x48 piece of material. Once cut out, they were joined in the back by three 3-foot pieces of wood. | 1 |
| 20:19, 9 November 2008 | Diagram2.gif (file) |  |
45 KB | This figure shows the cutouts for panel C1 and C2 and the two pieces to make panel C3. I had to make C3 into two pieces so that I could fit all of the panels on 4 sheets of 48”x48” material. The other two pieces are the support panels for panels L2 | 1 |
| 20:18, 9 November 2008 | ToddWessShuttleDiagram1.gif (file) |  |
62 KB | The figure below shows dimensions and cutting pattern for parts L1, L2, R1, R2 and the base for C5, C6 & C7 to be cut from a piece of 48”x48” material. I used 1/8” plywood. When joining two pieces together, the joint was reinforced from below with � | 1 |
| 03:45, 26 October 2008 | CockpitPanelJoin.jpg (file) |  |
586 KB | This is a template for creating interlocking panel edges as you see in Apollo and Shuttle Orbiter. Cut out each side then tape to your panel material, trace and cut. | 1 |
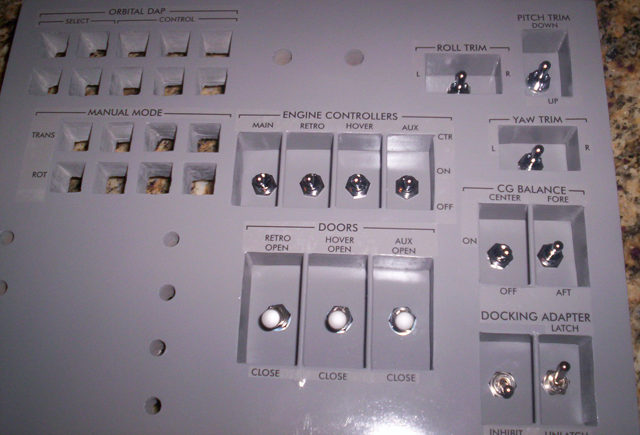
| 02:54, 20 October 2008 | RecessPanel5.png (file) |  |
435 KB | How to create recessed panel. Finished. | 1 |
| 02:53, 20 October 2008 | RecessPanel4.png (file) |  |
556 KB | How to create recessed panel. Create back panel with switches. | 1 |
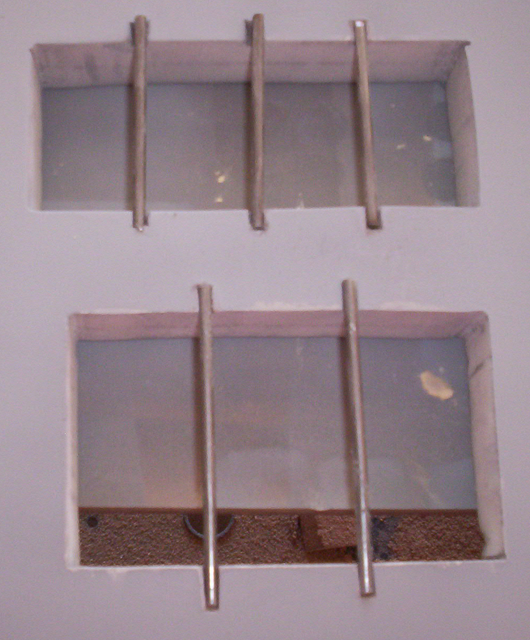
| 02:52, 20 October 2008 | RecessPanel3.png (file) |  |
492 KB | How to create recessed panel. Install switchguards. | 1 |
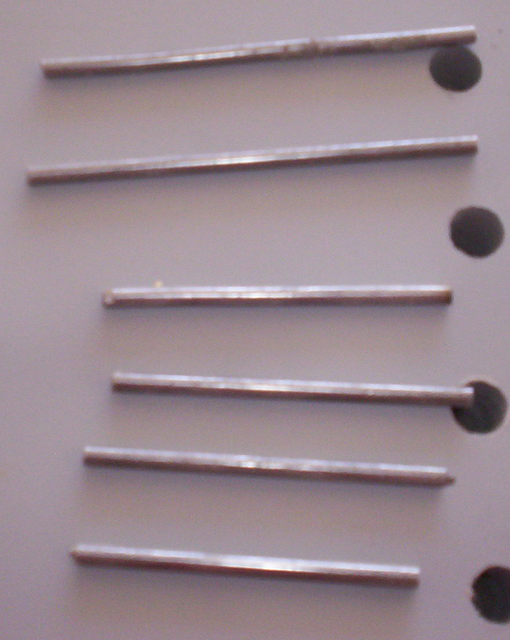
| 02:51, 20 October 2008 | RecessPanel2.png (file) |  |
461 KB | How to create recessed Panel. Create switchguards | 1 |
| 02:50, 20 October 2008 | RecessPanel1.png (file) |  |
417 KB | How to create recessed panel. Cut the holes. | 1 |