Making a payload bay in Anim8or
One of the often reoccuring tasks when making spacecraft meshes is making a payload bay.
Getting started[edit]
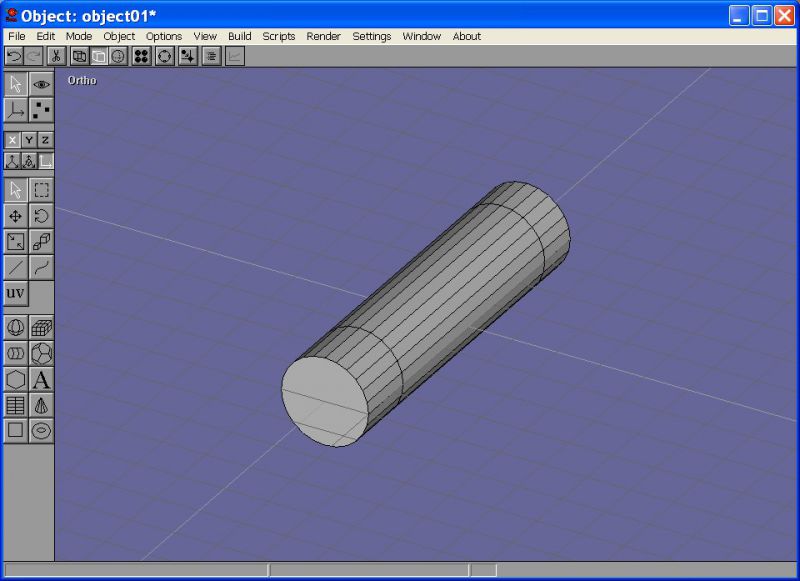
For the beginning, i created a simple fuselage section as example. You can do the same procedures with any other mesh shape.
The payload bay section is going to be 14 m long, with roughly 4.0m width.
Making the raw door meshes[edit]
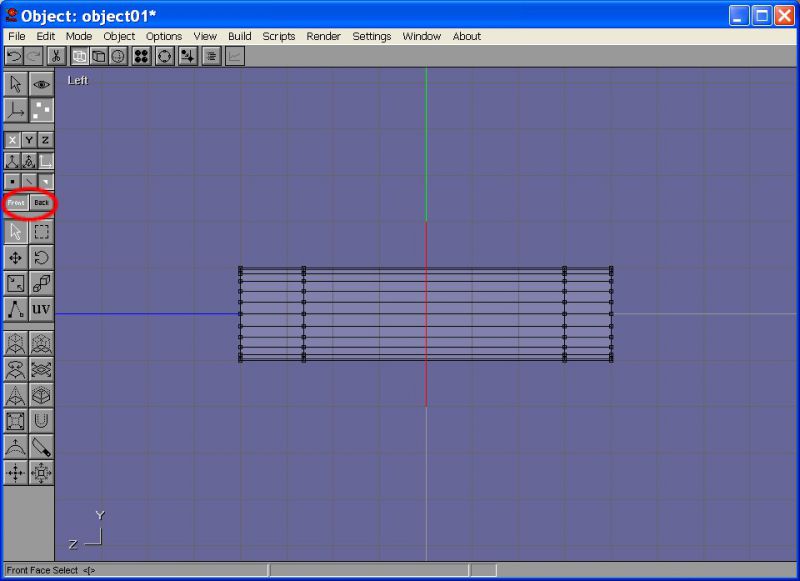
First we remove the faces, which are currently at the position of the payload bay doors. They will need some further treatment, before the addon is finished, so lets call them "raw". First you select the face selection mode and choose "front" = front side selection:
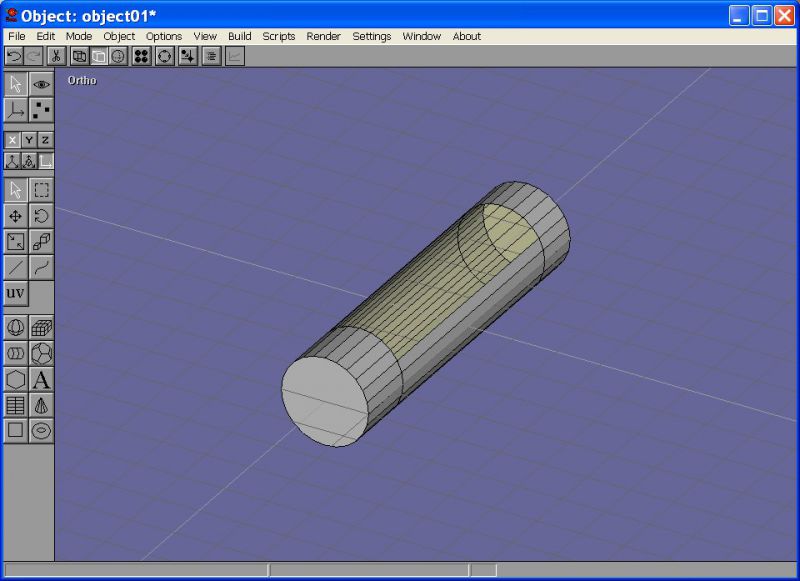
In this mode, you will only select those faces, whose front side points at you in your view. When viewing the mesh from the side, you will only select enough faces for making a single door. Select the faces and detach them from the rest of the mesh. Hide the new door mesh, as you won't need it soon. Repeat this step with the other side for the second door.
Making the inside[edit]
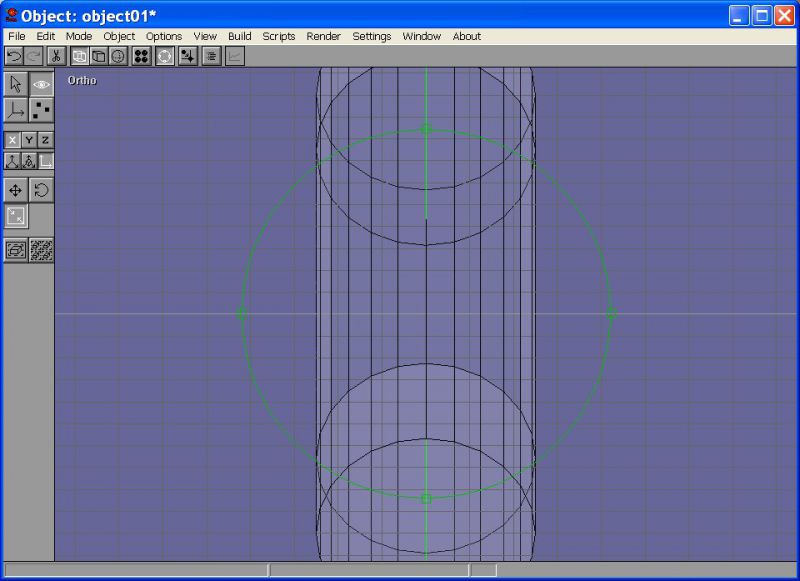
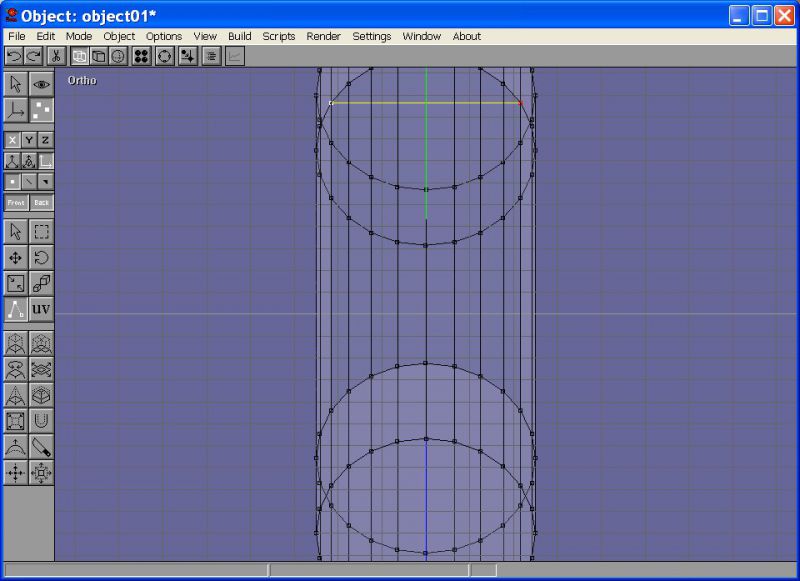
Now, we have a huge hole in the mesh, which cries to be filled. We do this by first drawing some new edges into it. Rotate the view, to have a good view on the mesh and the hole to be filled.
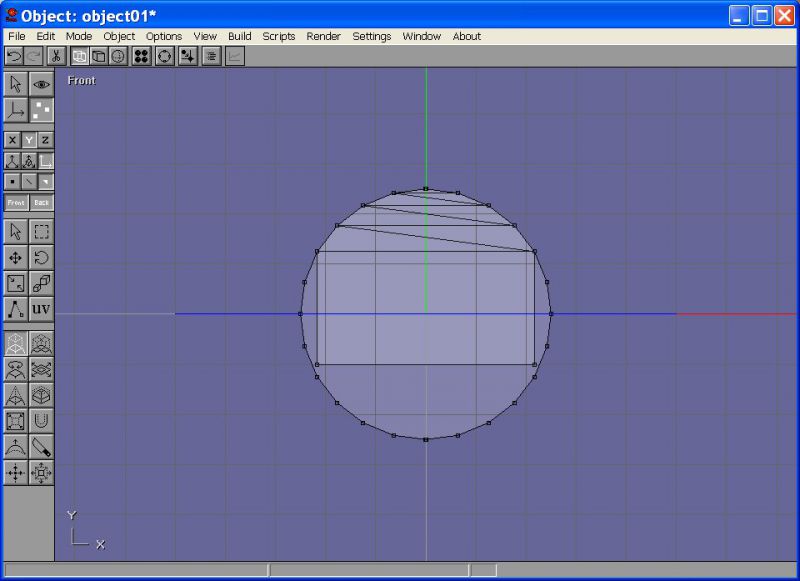
Now we draw the edges. Keep the payload bay free of additional edges, only give it a rectangle as cover.
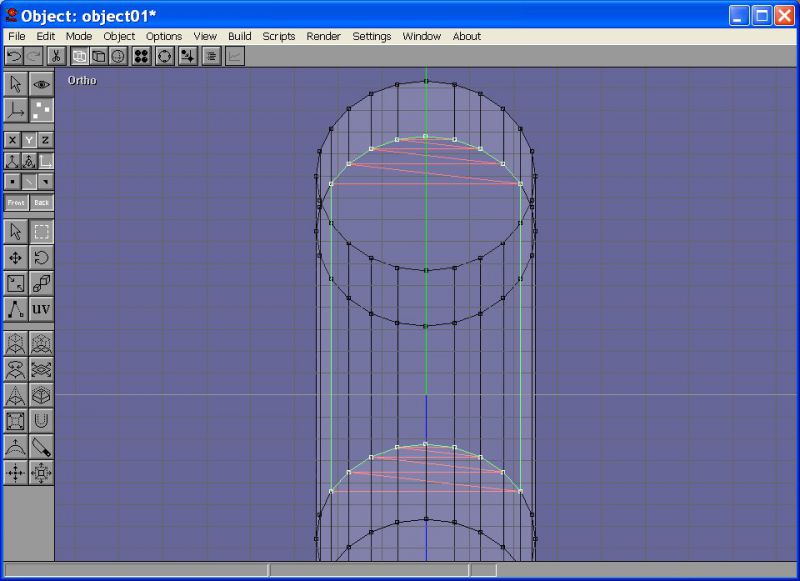
I prefer to make as many new faces as possible already as triangles, even though Anim8or has no problems with more edges. Now select all edges (using the edge select mode) around the opening of the payload bay, which are going to be filled. Also select the rectangular opening into the payload bay, we need it filled now for the next step.
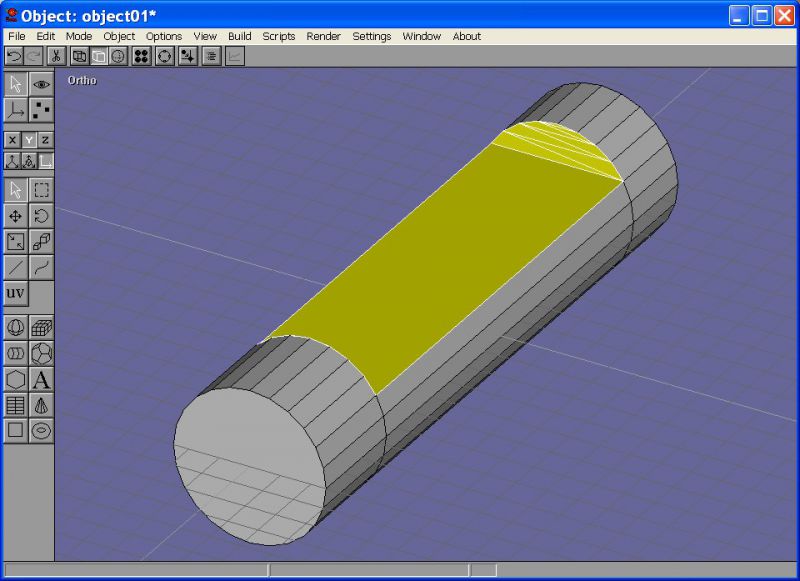
Now fill the holes. And there you have a completly air-tight mesh again.
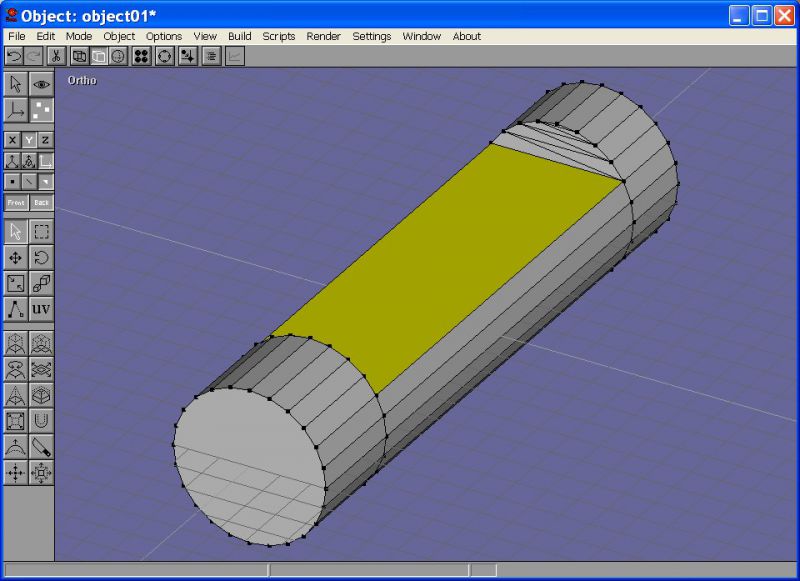
After you have filled the holes around the selected edges, select only the rectangle which currently covers the payload bay.
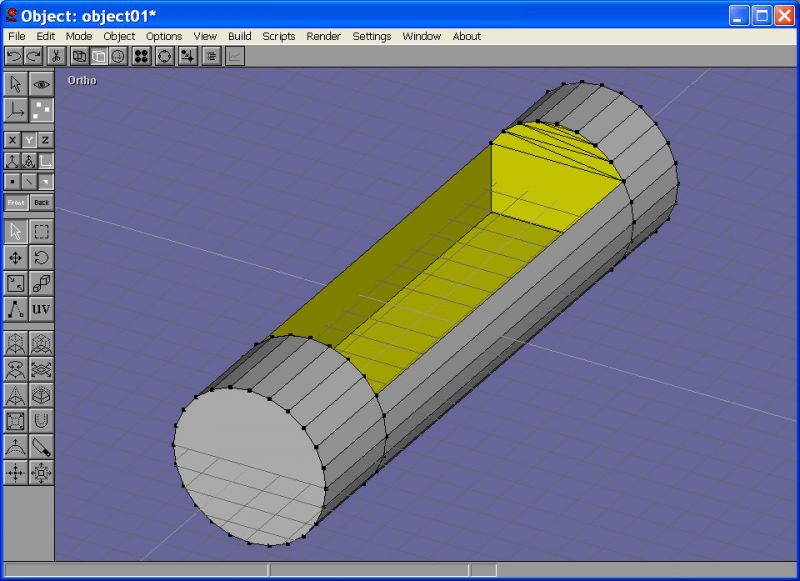
Switch to the front view and extrude the selected face (Extrude face tool) until the payload bay is deep enough for you. Its more realistic to let it have some space to the outside of the hull, this also avoids rendering bugs.
Now select all faces, which are going to become the inside of the payload bay.
As a payload bay is usually floodlighted (or has any other visibility properties as the outside), we are going to detach all inside faces of the payload bay and turn it into a new mesh. Give this mesh a material with a strong emmissive component. This means, it will glow in the dark, even at the darkest orbital night possible in Orbiter
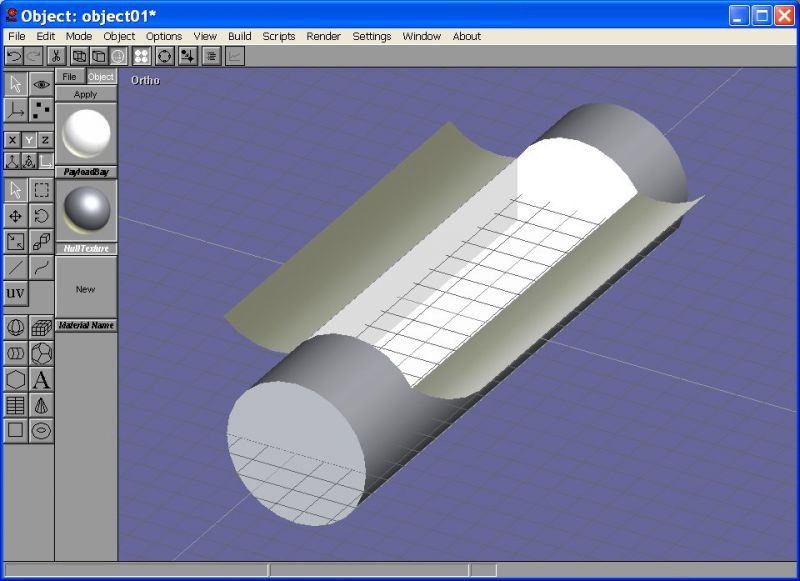
As finishing touches, i showed the raw door meshes again and rotated them by 135° into a opened position. I can explain in a later tutorial how to turn the raw door meshes into something more appealing.
